Hey all! Sorry for the radio silence. Had some unexpected things come up in my personal life that took up most of my free time, so haven't been able to take the time to update as normal. Now that it's settled down, it's time to unveil more of the work I did in my 3D Modelling class, including working with textures, lights, cameras, and my work on the final project. Hope you're ready! Off we go.
The first thing we played with was texturing. Up until this point, the only thing the class knew was how to change the base color of the object they were working with. The next step was to create more complex materials and textures to put on an object.
 |
| Door- Pretty straightforward. Modelling a door and using the Extrude features to create the moldings in the door. |
 |
| Door with texture - Adding texture to the door. As you can tell, it's not the best, but the point of the assignment was to get a basic understanding for how texture mapping worked. |
 |
| Building model - Creating the basic shape of a building and learning to use the Create tool to make steps. |
 |
| Building with textures - Applying textures to the walls, floors and ceilings. |
 |
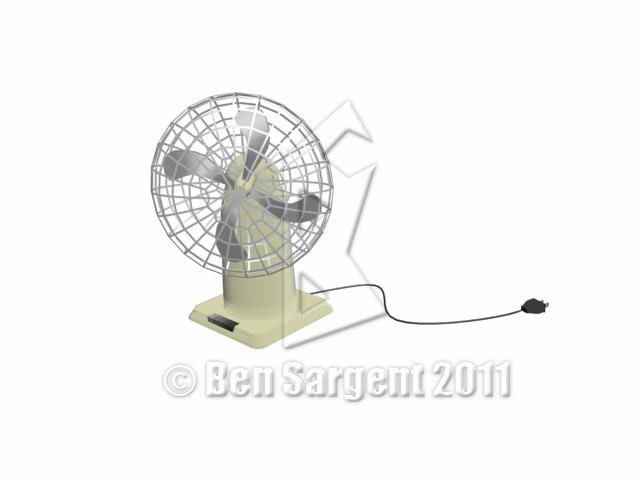
| Complex shape with textures - Creating a complex shape from scratch and adding textures to the final product. I wasn't really using a reference for this, but it came out pretty well regardless. |
After playing with textures and shape building, it was time to start experimenting with lights and camera movements. This project makes use of the four items from the first week, and includes a light and shadows.
After I submitted this assignment, I decided to play around with the settings and see if I could create a more dreary look. Here's what I came up with:
Next on our list was to change the lighting to evoke a different mood, as well as changing the camera movement.
It was about this point that we began working on our final projects. I had wanted to model the dining area of a restaurant that my family frequently visits, so it was quite enjoyable. The following sequence of pictures documents the steps from initial creation to near completion.
 |
| Basic layout - Creating the tables, chairs, and booths |
 |
| Adding on - Textured the objects, added walls, and tweaked the shapes |
 |
| And more - Created a ceiling, added lamps hanging from said ceiling |
 |
| Almost done - Adding textures to the lamps and creating glowing light bulbs for a well-lit space |
The following five pictures are various views from the finished scene.
While I'm pleased with how the final scene turned out, there is a lot more that still needs to be done. I plan on continuing to work on it over the summer to see how close to the real thing I can come! Hope you enjoyed the work I've done!
Until next time.